


Packaging & Shipping Guide
1. Preparation
1.1. Item Assessment
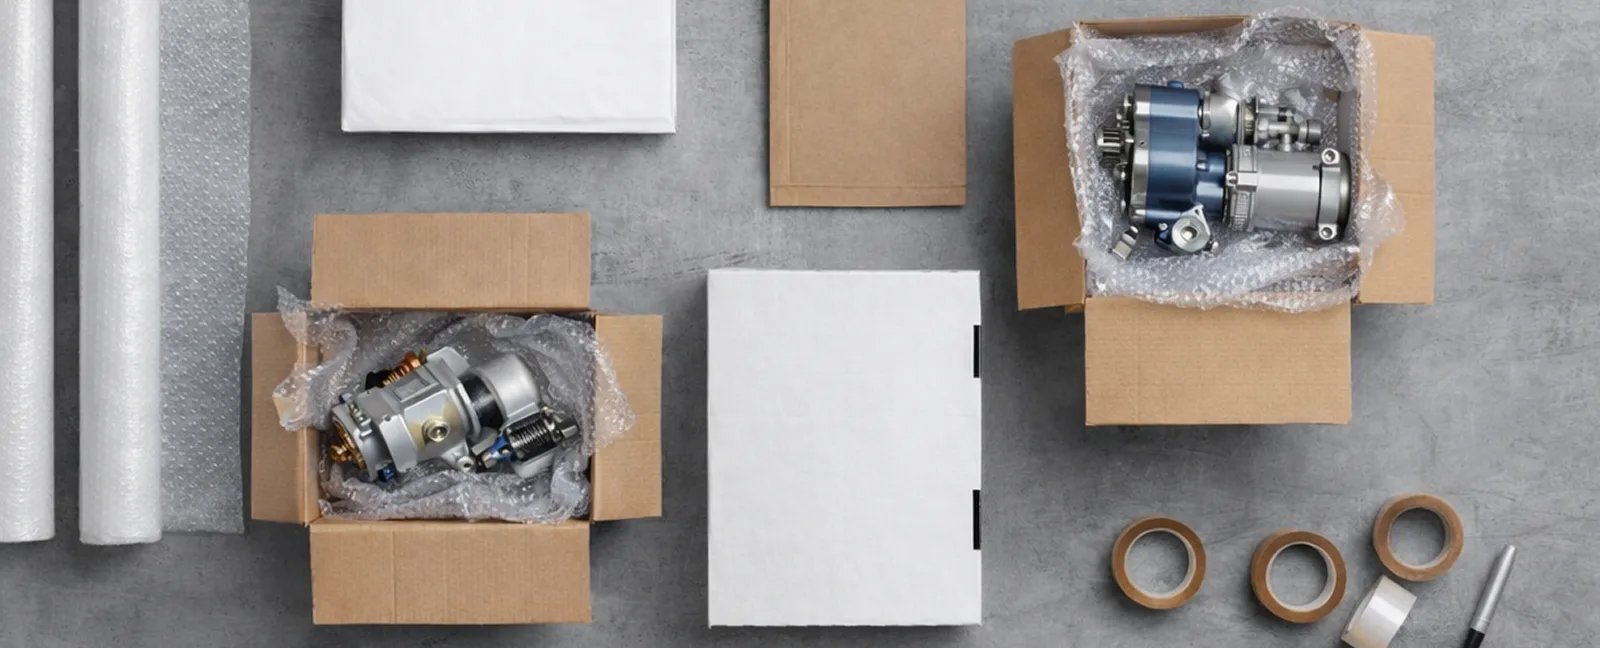
- Measure the exact dimensions of the item (length × width × height) and its weight without packaging.
- Identify the most vulnerable parts of the item, such as corners, protruding elements, glass, or fragile mechanisms.
- Consider whether the item can withstand vibration, impact, and compression. This will help determine the required level of protection.
1.2. Outer Packaging
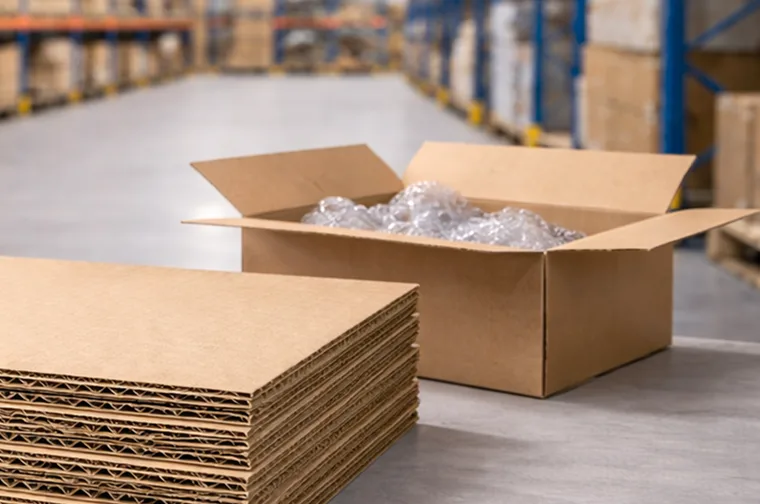
- Use a new or like-new double-wall corrugated cardboard box. For heavy or valuable shipments, this is recommended by DHL.
- The box should be larger than the item, leaving approximately 4–6 cm of clearance on each side for cushioning.
- Do not use damaged, bent, weakened, or previously used boxes in poor condition.
1.3. Inner Packaging and Cushioning
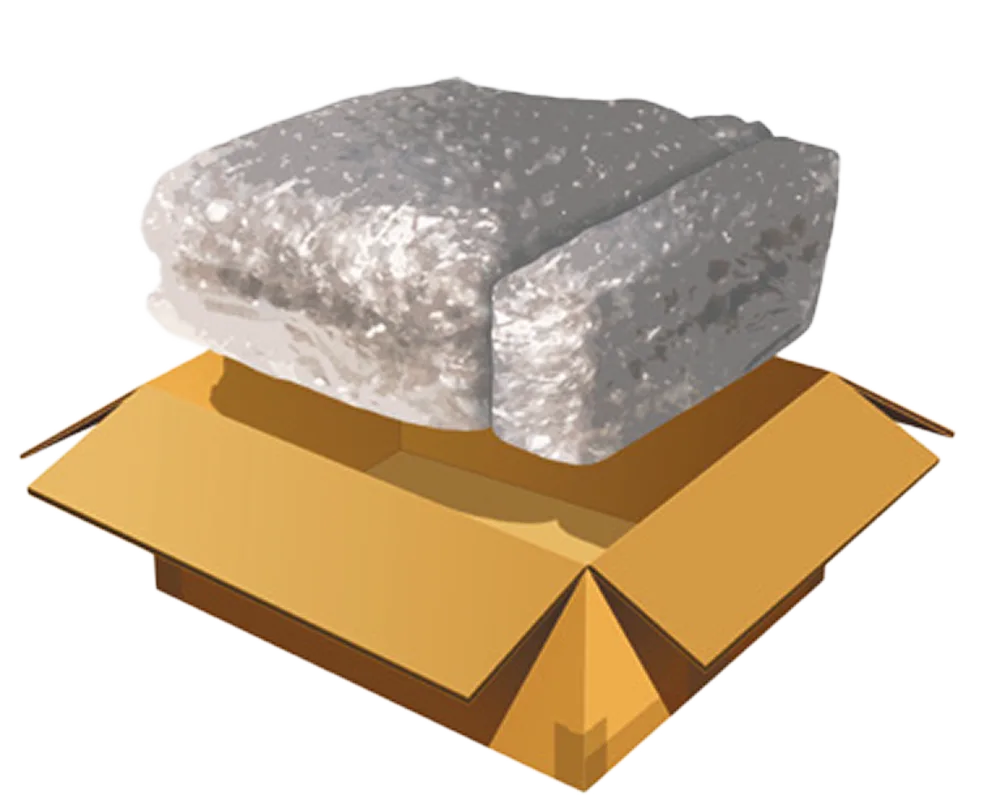
- Wrap the item in several layers of bubble wrap, especially around corners and protruding parts.
- Use additional protective materials such as foam sheets, polystyrene inserts, or foam padding.
- Fill all empty space with air pillows, packing peanuts, foam chips, or compressed packing paper. The item must not move inside the box.
- Optional: for especially fragile or valuable items, use double boxing by placing the main box inside a larger outer box with a protective layer between them.
1.4. Sealing and Reinforcement
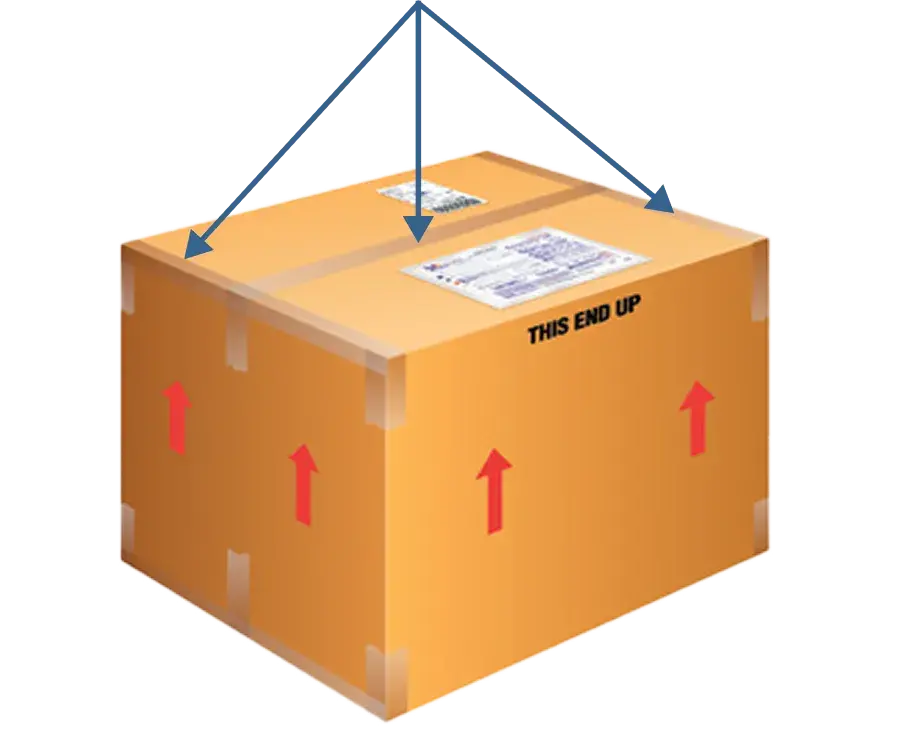
- Apply the H-taping method: tape along the center seam and along the edges in the shape of an "H" to reinforce closures and seams.
- Use tape that is at least 48 mm (2 inches) wide, or stronger tear-resistant tape.
- Reinforce the box corners with extra tape or protective corner guards, especially for heavy packages.
- Avoid using excessive amounts of tape that may interfere with customs or inspection procedures.
1.5. Labeling and Tamper Protection
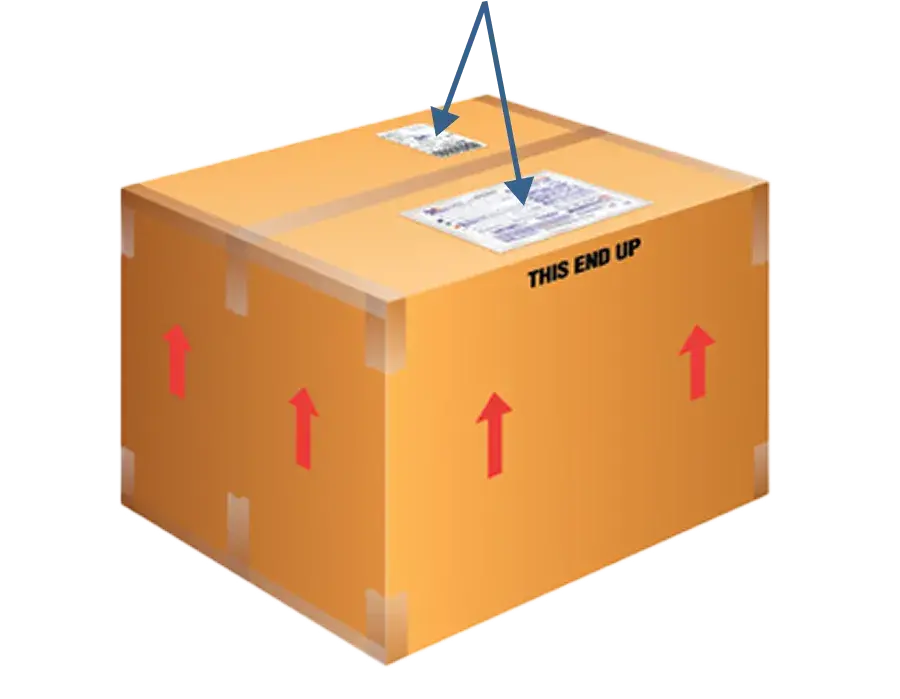
- Apply labels such as Fragile, Handle with Care, and This Side Up to the box.
- Use tamper-evident tape or seals that show visible damage if the package is opened.
- For valuable goods, use neutral outer packaging that does not suggest high-value contents.
1.6. Weight and Dimension Check
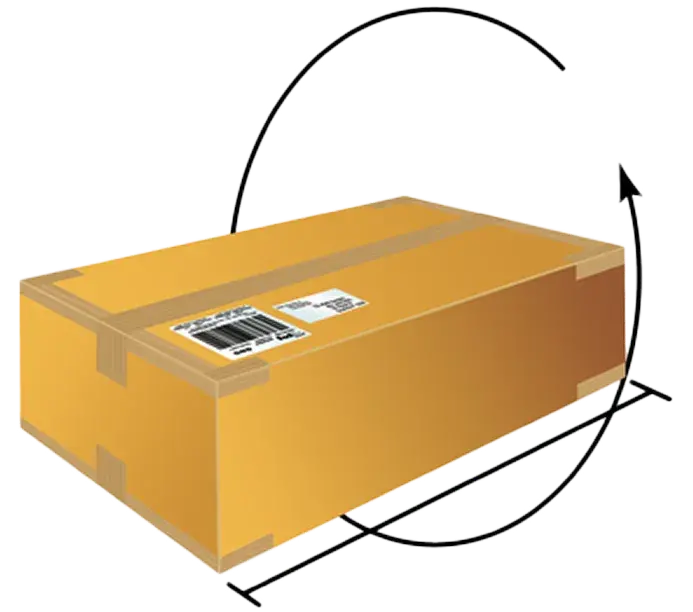
- After packing, measure the final dimensions and weight of the shipment.
- Record and verify that the packed shipment does not exceed the carrier's limits.
1.7. Additional Safety Measures (Optional)
- If the carrier offers shipment value protection or insurance, make sure to purchase it for expensive goods.
- For very valuable items, consider using a reinforced container, wooden crate, or plywood case with soft interior padding.
- Make sure the packaging can withstand temperature changes, humidity, and vibration.
2. Photo Report and Documentation Guide
A proper photo report and clear documentation are essential for protection against disputes and claims.
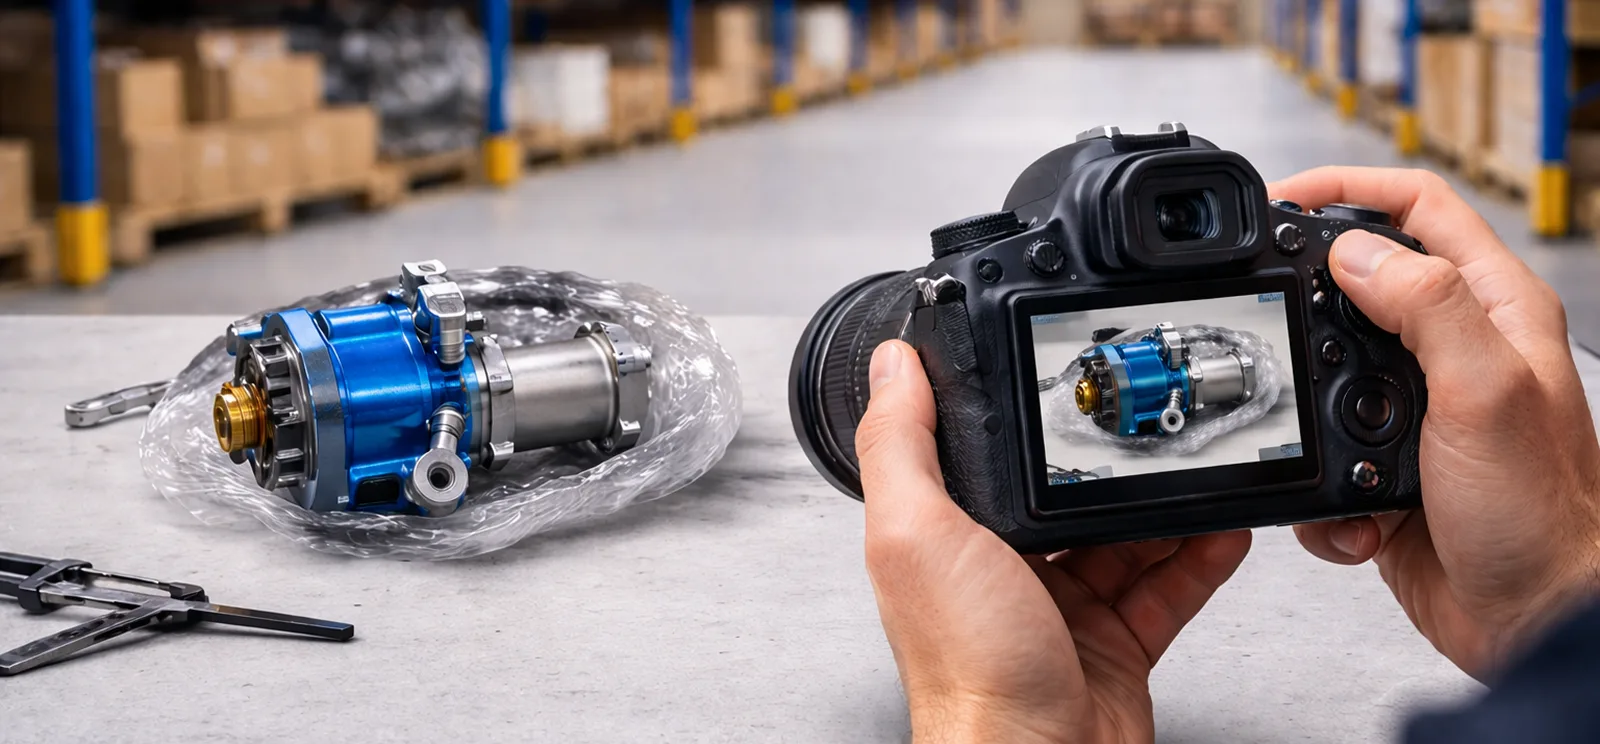
2.1. Product Photo Report Before Packaging
- Take photos of the item from all sides: front, back, left, right, top, and bottom.
- Photograph any potentially disputed areas, such as corners, protruding parts, decorative elements, and mechanisms.
- If the item has markings such as a serial number, logo, stamp, or part number, photograph them in close-up.
- Include a photo of the item with an identification sheet placed next to it. The sheet should show the dispatch date, your signature, and a short note such as:
“Shipped today, [date]”
2.2. Photos of Seals and Security Elements
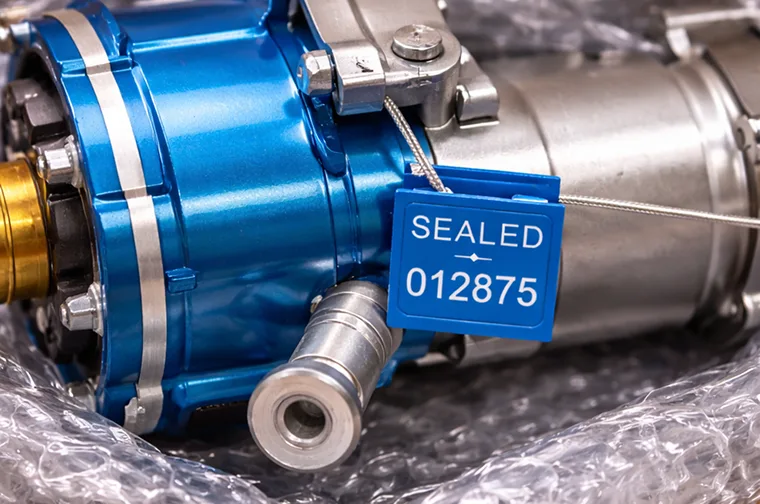
- If the item or packaging includes seals, photograph each seal up close so that its shape, number, and integrity are clearly visible.
- Take photos showing where each seal is attached, such as the base, lid, or locking mechanism.
- If possible, include the date sheet next to the seal in the photo.
2.3. Photos After Packing / Inside the Box
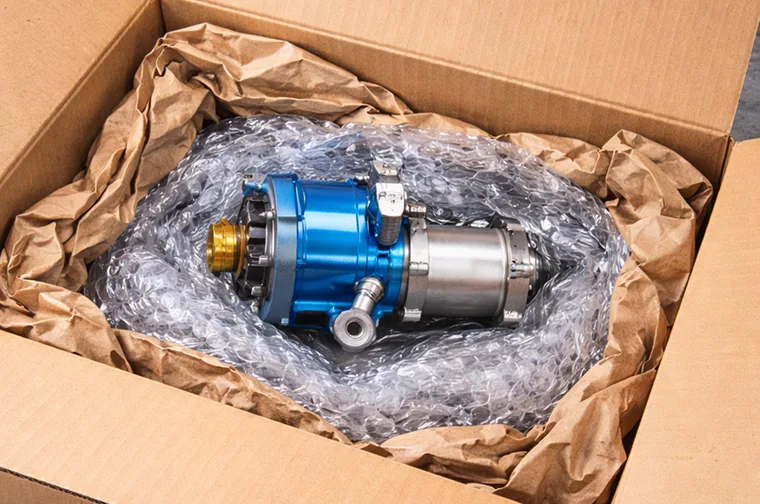
- Take photos showing how the item is placed inside the box before sealing.
- Make sure the photos clearly show padding materials, void fill, and how the item is secured.
- Take photos of the sealed box with labels and seals visible from the front and side.
- Photograph all joints and seams, especially reinforced areas.
2.4. Documentation of Weight and Dimensions
- Take a photo of the scale showing the combined weight of the package and its contents.
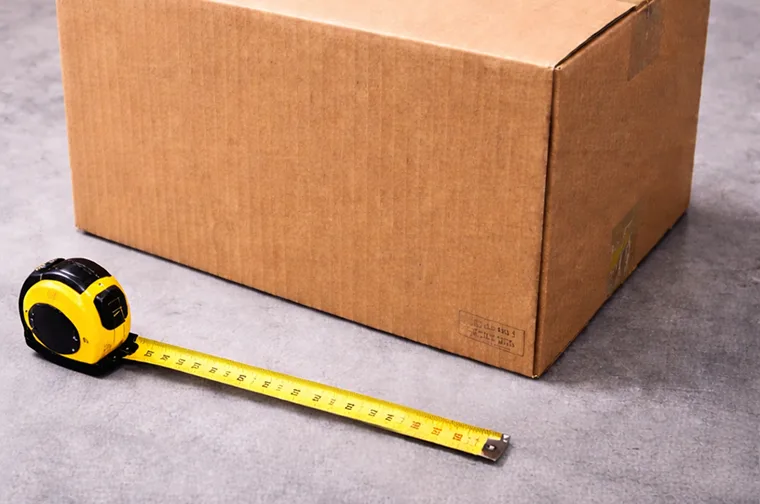
- Take a photo of a measuring tape or ruler next to the box to show its dimensions: length, width, and height.
- Record the dimensions and weight in an electronic document such as Excel or PDF and attach it to the photo report.
2.5. Storage and Handover of the Report
- Save the full photo report in high quality without compression, preferably in JPEG or PNG format, and keep a backup copy.
- Attach the report to the shipping documents by email, as an attachment, or as a saved file on the platform/marketplace.
- If possible, send the buyer photos of the packaged item before dispatch as a preliminary report so they can see the item's condition in advance.
3. Additional Requirements for Aviatrading Escrow Transactions
Missing documents may delay or block your payment.
3.1. General Rules
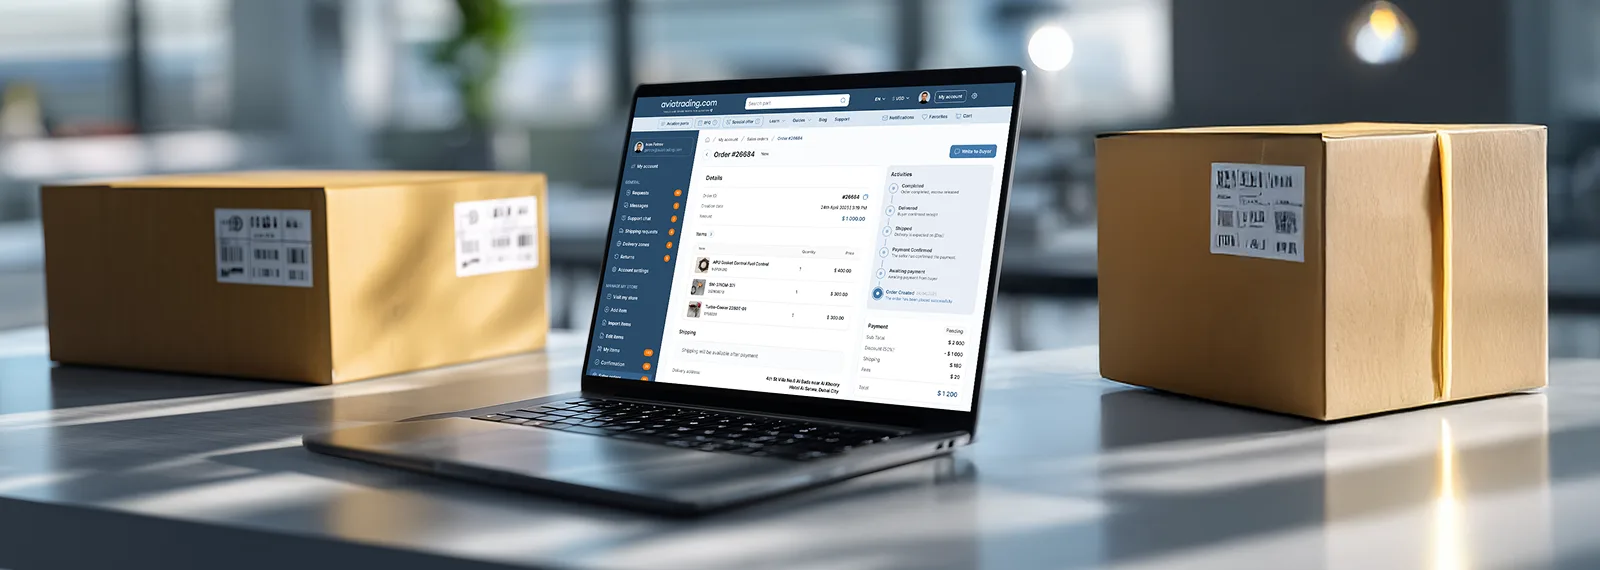
For all transactions processed through Escrow.com or the Aviatrading Escrow system, the seller must comply with documentation and photo evidence requirements to protect both parties and reduce the risk of disputes.
3.2. Shipment Confirmation
- The shipment must be sent only to the address listed in the transaction record.
- Within 24 hours after handing the shipment over to the courier, the seller must upload or provide the following to the Escrow administrator:
- photos of the packaging and seals
- tracking number and carrier receipt
- date and time of dispatch
- copy of the Air Waybill (AWB)
- photo of the item with an identification sheet showing:
Order No: [order number]
Escrow Transaction ID: [transaction ID]
Date of dispatch: [date]
Signature / initials: [sender]
3.3. Escrow Evidence Package
The evidence package must include:
- photos of the item before packaging, including all sides, serial numbers, and markings
- close-up photos of seals, labels, and serial number plates
- photos of the inner packaging before sealing, showing how the item is secured
- photos of the sealed box from all sides, with close-up photos of the seals
- photos of the scale and measuring tape next to the box, showing weight and dimensions
- a 20–60 second video showing the packing process and handoff to the courier
- ideally, photos should include a sheet showing the date, signature, and transaction number
All materials must be stored by the seller for at least 90 days after the transaction is completed.
3.4. Weight, Serial Numbers, and Seals
- The actual weight must match the carrier's declared weight.
- Seal numbers and serial numbers must match the information in the Escrow transaction record.
- Any discrepancy must be documented and may result in a temporary hold on the payment.
3.5. Insurance and Notification
- Insurance is mandatory for items valued above USD 1,000.
- A copy of the insurance document, or the carrier's confirmation of insured shipment, must be attached to the photo report.
- The Escrow service may request this document during arbitration or claim review.
3.6. Responsibility of the Parties
- Failure to comply with these requirements may result in a delay or suspension of payment until all required evidence is confirmed.
- In disputed cases, Aviatrading / Escrow.com will consider only official photos, videos, and documents prepared in accordance with this guide.
Recommendation:Keep all confirmations, photos, and videos for at least 90 days after the transaction is completed. This is your evidence base in the event of any dispute.
4. Final Structure of the Guide for the Sender
Make sure all steps are completed before dispatch to avoid disputes and payment delays.
| Step | What to check |
|---|---|
| Item Assessment | Measure dimensions and weight, and identify vulnerable parts |
| Packaging selection | Choose the outer box, use double-wall protection, and leave 4–6 cm clearance |
| Inner cushioning | Use bubble wrap, foam materials, and fill all empty space |
| Sealing and reinforcement | Apply H-taping, reinforce corners, and add seals if needed |
| Labeling and tamper protection | Add handling labels, use tamper-evident tape, and keep the exterior neutral |
| Final measurements | Record the final packed dimensions and weight |
| Photo report | Take photos before packing, of seals, inside the box, and after sealing |
| Documentation and handover | Save the report, keep copies, and share it with the buyer |